



The roof damage we see most in February rarely starts in February. It starts in November, with a clogged gutter or a gap in attic insulation that nobody noticed until the snow piled up and the thaw-freeze cycles went to work. At Jerry’s Roofing and Renovation, we spend the fall walking GTA homeowners through the same handful of checks, and most of them take an afternoon, not a contractor visit.
Here’s the checklist we’d run through on our own homes before the first real snowfall.
Why Fall Prep Actually Matters Here
Southern Ontario winters don’t just bring cold. They bring repeated freeze-thaw cycles, heavy wet snow loads and the specific problem of ice damming, where melted snow refreezes at a roof’s edge and backs water up under the shingles. None of that is unique to any one roof type, but a roof that goes into winter with clogged gutters, poor attic ventilation or loose flashing is starting the season already behind.
A bit of prep in October or November heads off a lot of the calls we get in January.
Think of it the way you’d think about winterizing a car before the first cold snap, checking the antifreeze and tires before the ice hits, not after you’re already stuck on the shoulder. A roof works the same way. Almost everything on this list is cheaper and easier to fix in good weather than it is once the temperature drops and snow is already sitting on top of the problem.
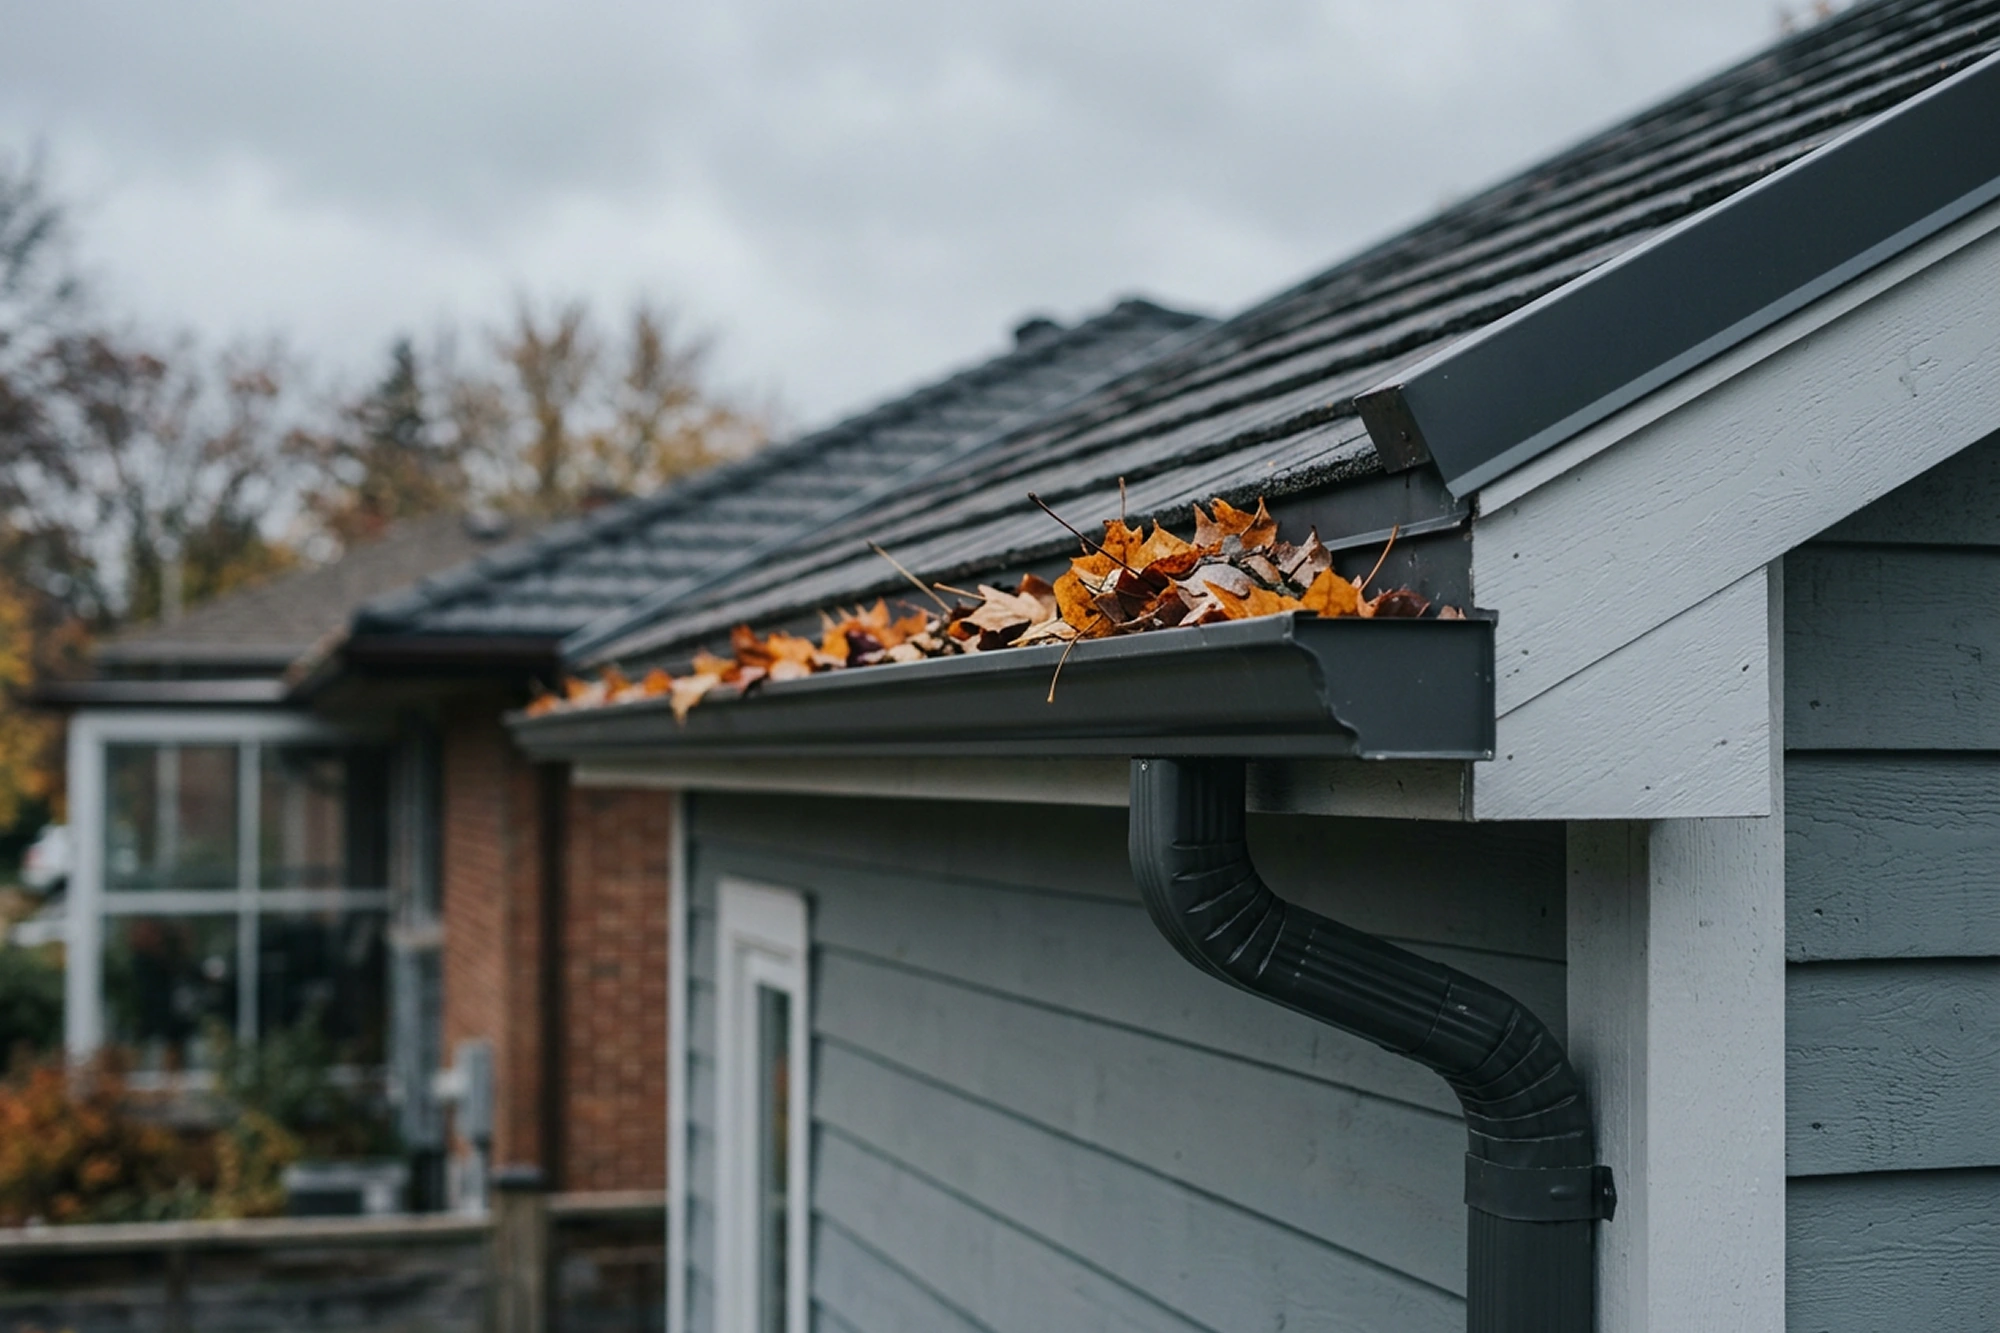
1. Clear the Gutters and Downspouts
This is the single most skipped step, and it’s the one with the biggest payoff. Gutters packed with leaves and debris can’t move meltwater away from the roofline, which is exactly the setup that leads to ice damming along the eaves.
What To Check:
- Gutters are fully cleared of leaves, needles and debris
- Downspouts drain freely and direct water away from the foundation
- Gutter brackets are secure, not sagging under the gutter’s own weight
- No visible cracks or separated seams at joints
If you’re not comfortable on a ladder, this is a quick job for a crew that already has the right equipment on the truck. It’s also one of the fastest things to check off, since a single pass with a hose can confirm whether water is actually reaching the downspout and draining where it should.
2. Check Attic Ventilation and Insulation
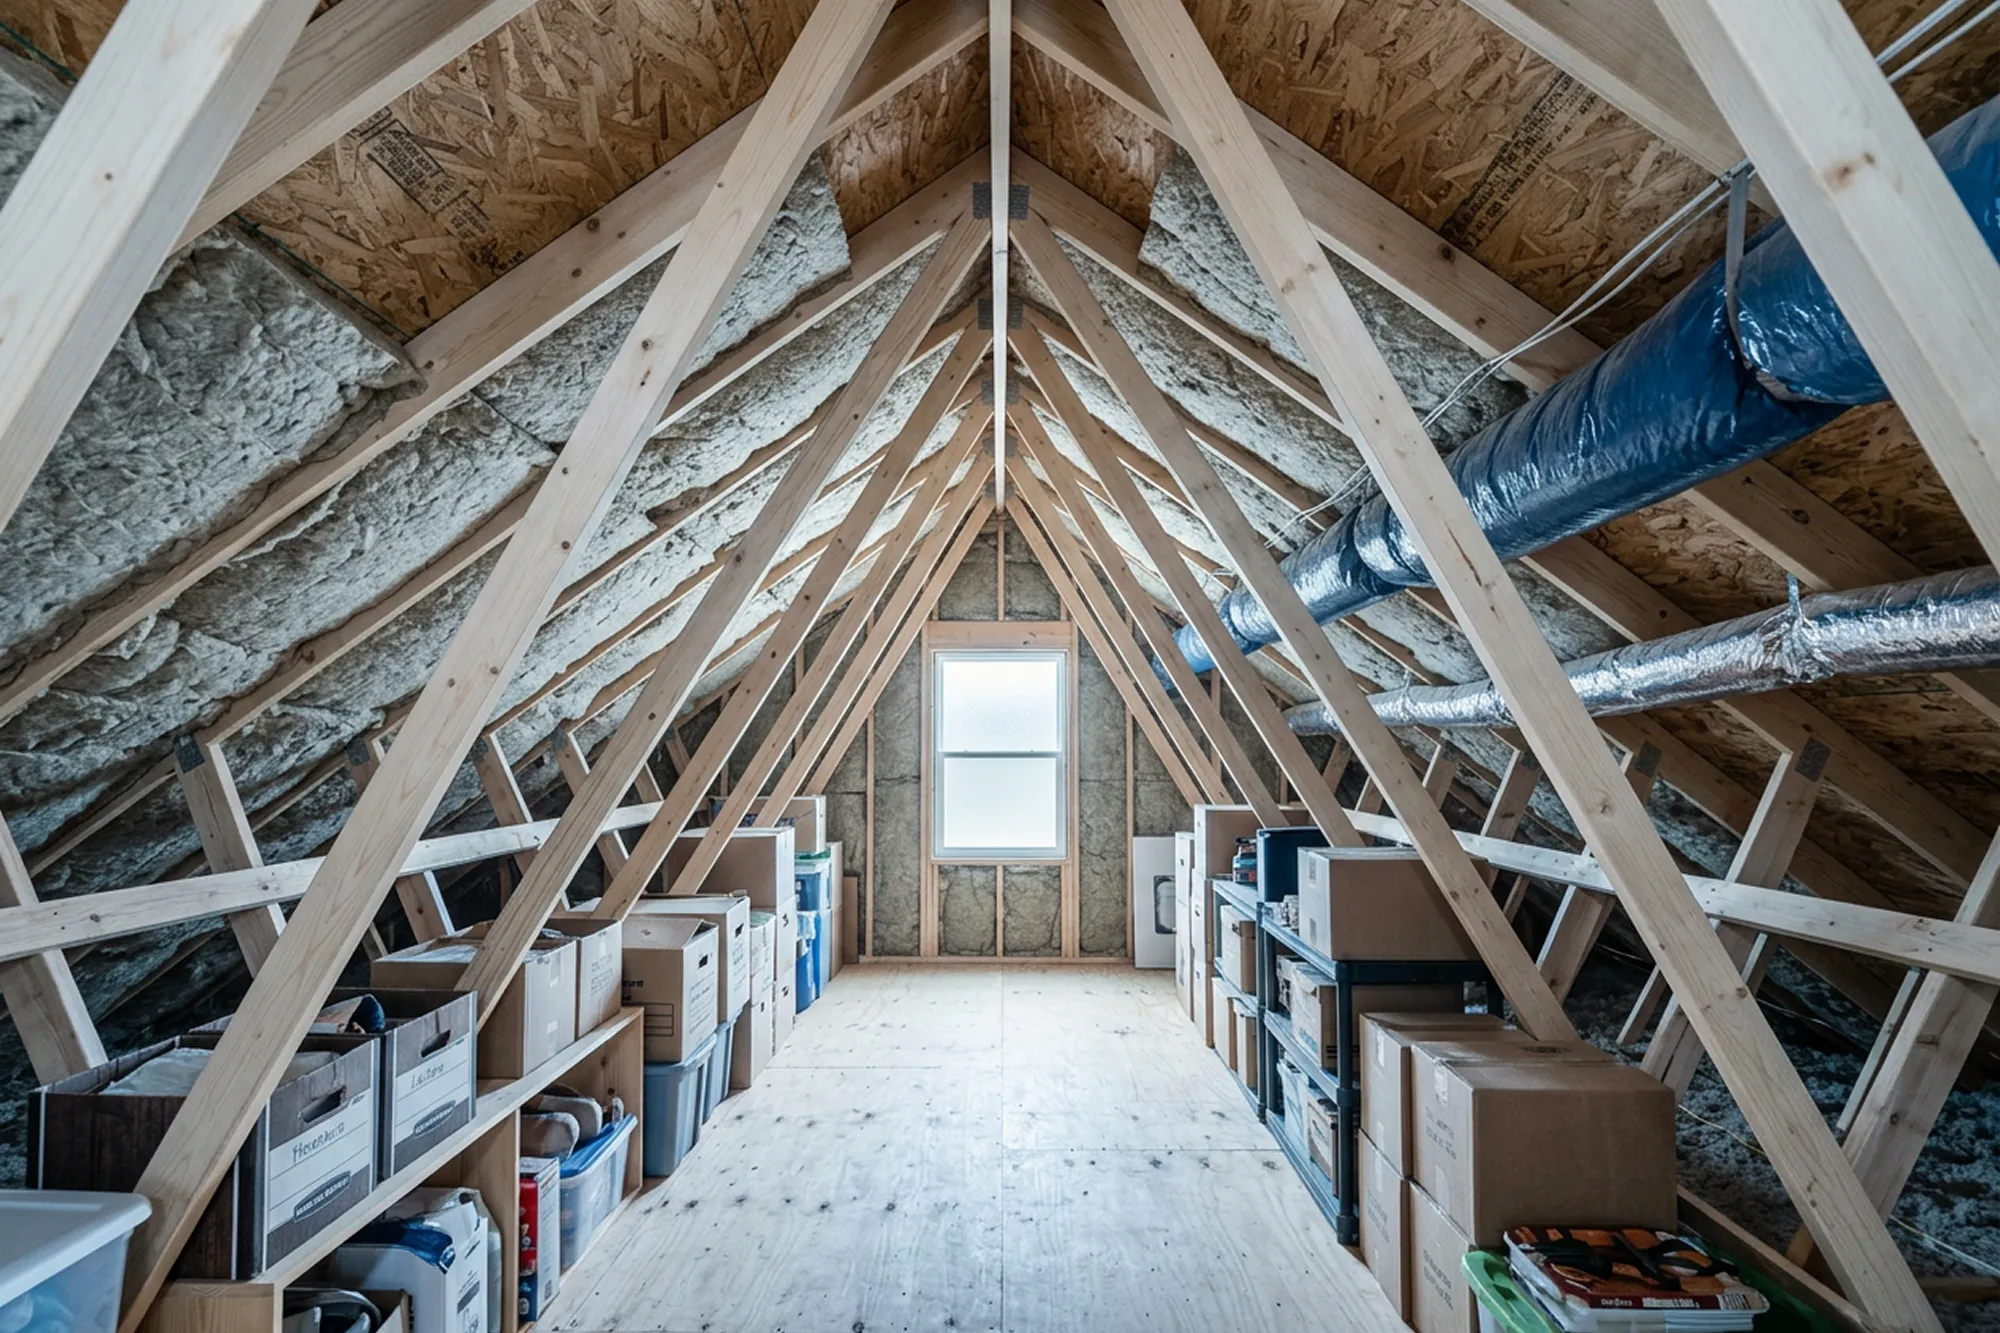
Most ice damming isn’t actually a roofing material problem. It’s an attic problem. A poorly vented or under-insulated attic lets heat escape upward, warms the underside of the roof deck, melts the snow sitting on it, and that meltwater refreezes the moment it hits the colder eave. The cycle repeats all winter.
Signs Your Attic Needs Attention:
- Visible frost or condensation on the underside of the roof deck
- Uneven snow melt on the roof, patches that clear faster than the rest
- Warm spots on the ceiling below the attic during cold weather
- Insulation that looks compressed, thin or unevenly distributed
Balanced intake and exhaust ventilation, paired with adequate attic insulation, is what actually solves this. It’s worth a look before the first snowfall rather than after an ice dam has already formed, since fixing ventilation after the fact usually means dealing with water damage on top of the original problem.
3. Inspect Flashing Around Penetrations
Flashing, the metal strips sealing joints around chimneys, skylights, vents and valleys, is where the majority of winter leaks start. It’s a small detail, but it’s the detail that fails first when it’s overlooked.
Walk The Roofline or Have Someone Check, For:
- Lifted, cracked or rusted flashing at chimneys and skylights
- Gaps where flashing meets the roofing material
- Sealant that’s dried out, cracked or pulling away
- Valleys where two roof planes meet, since debris collects here and can trap moisture
A flashing repair before winter is a small job. The same repair after a winter of leaking into the attic usually isn’t.
4. Trim Overhanging Branches
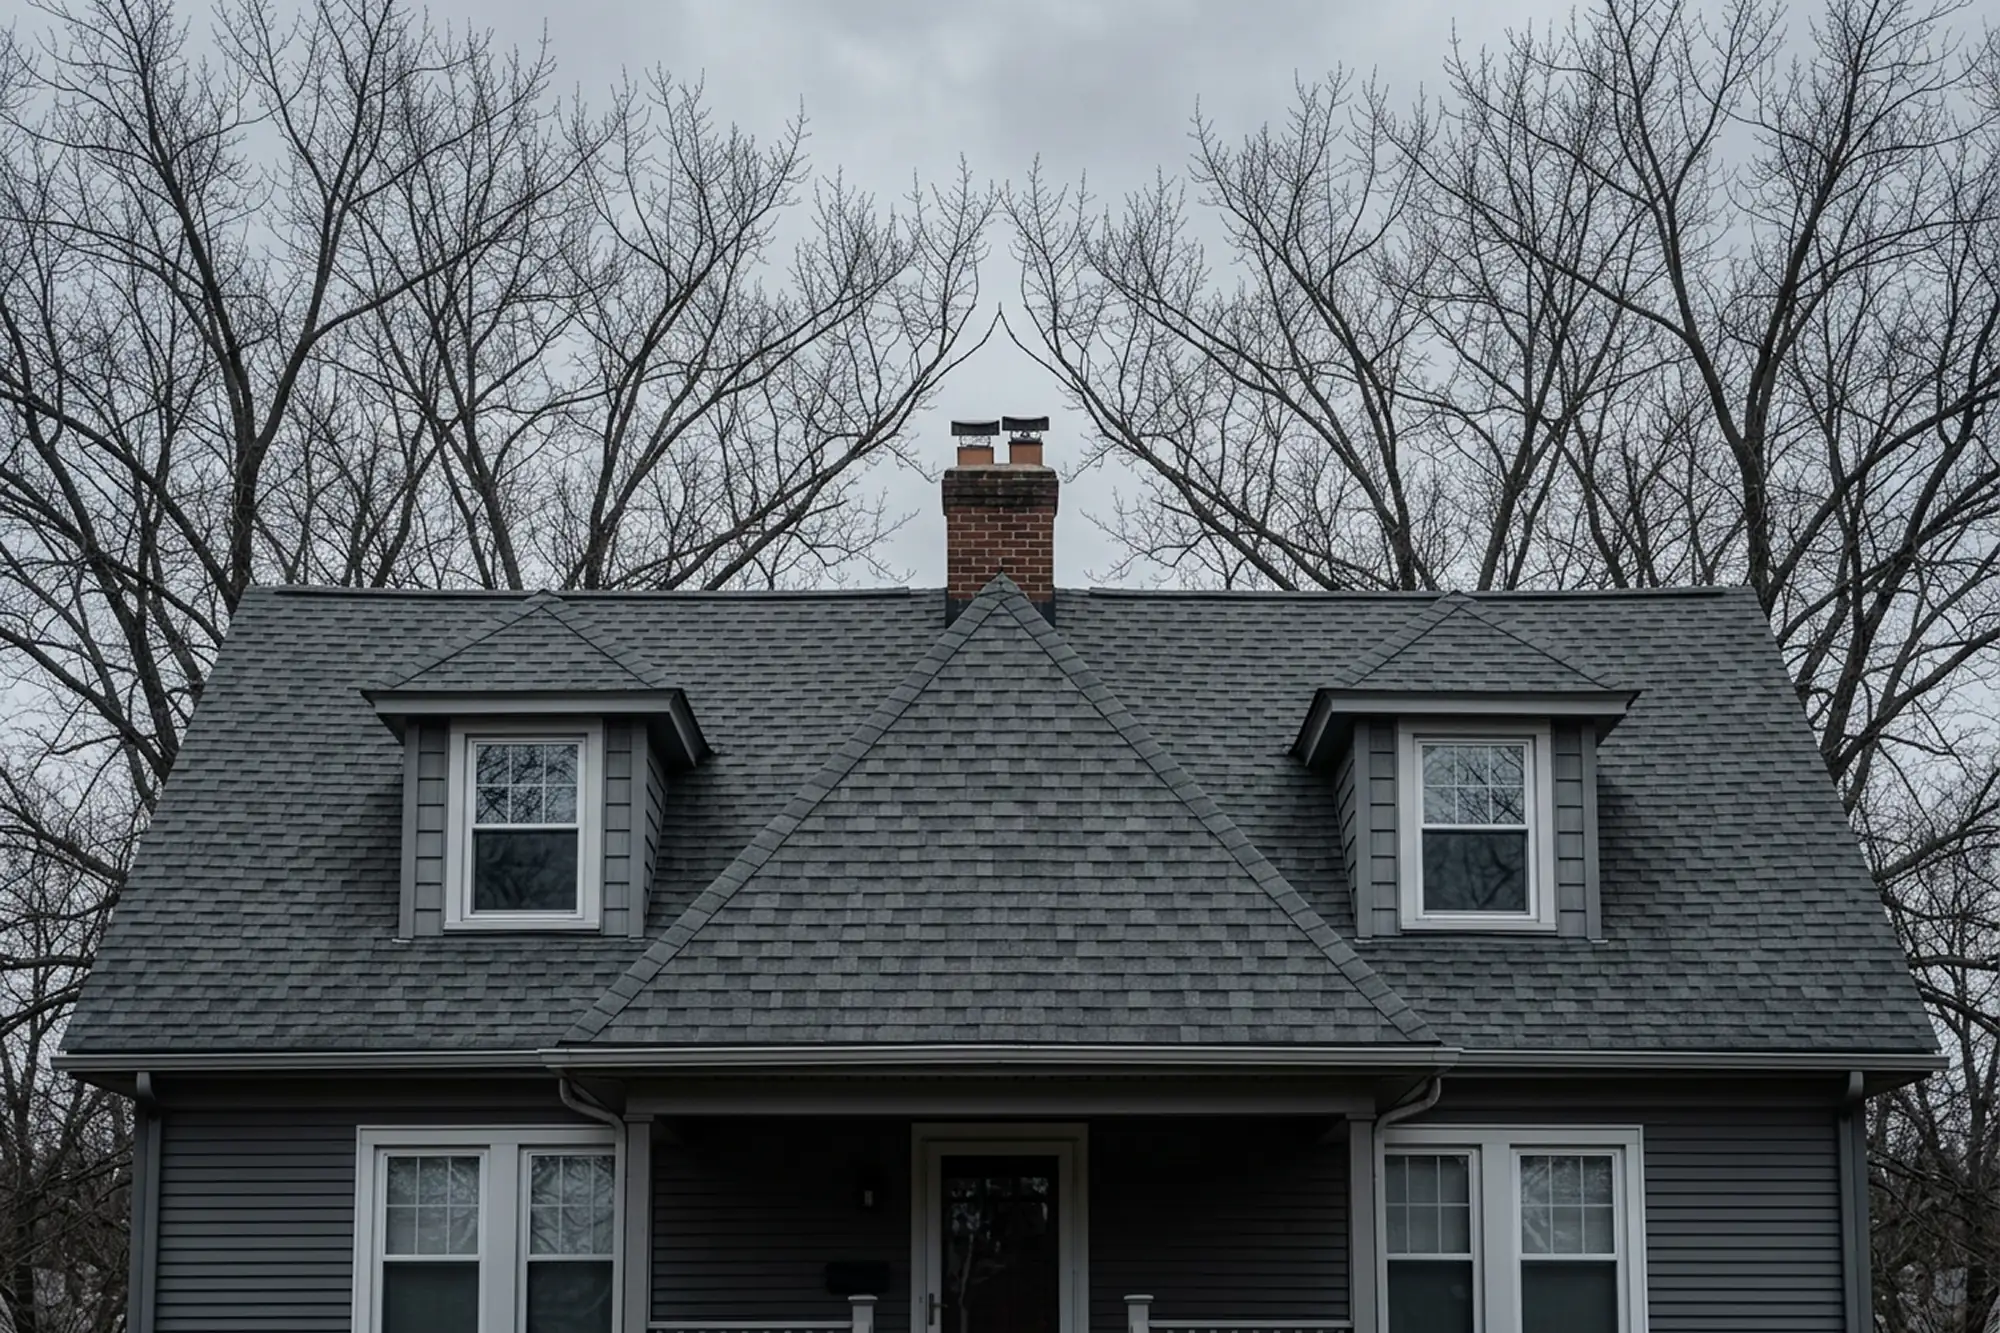
Branches hanging over the roof do two things in winter: they drop debris into gutters right after you’ve cleared them, and heavy snow or ice load can snap a limb onto the roof surface, damaging shingles, panels or membrane on impact.
A quick trim in the fall, before the first heavy snow, is cheaper than a repair after a branch comes down. It’s an easy step to skip since it doesn’t feel like roofing work, but the damage a falling limb causes is often more costly than anything else on this list.
5. Check for Existing Damage Before It’s Buried Under Snow
Once snow covers the roof, spotting a problem gets a lot harder. This is the last real window to catch something before it’s hidden for months.
Look For:
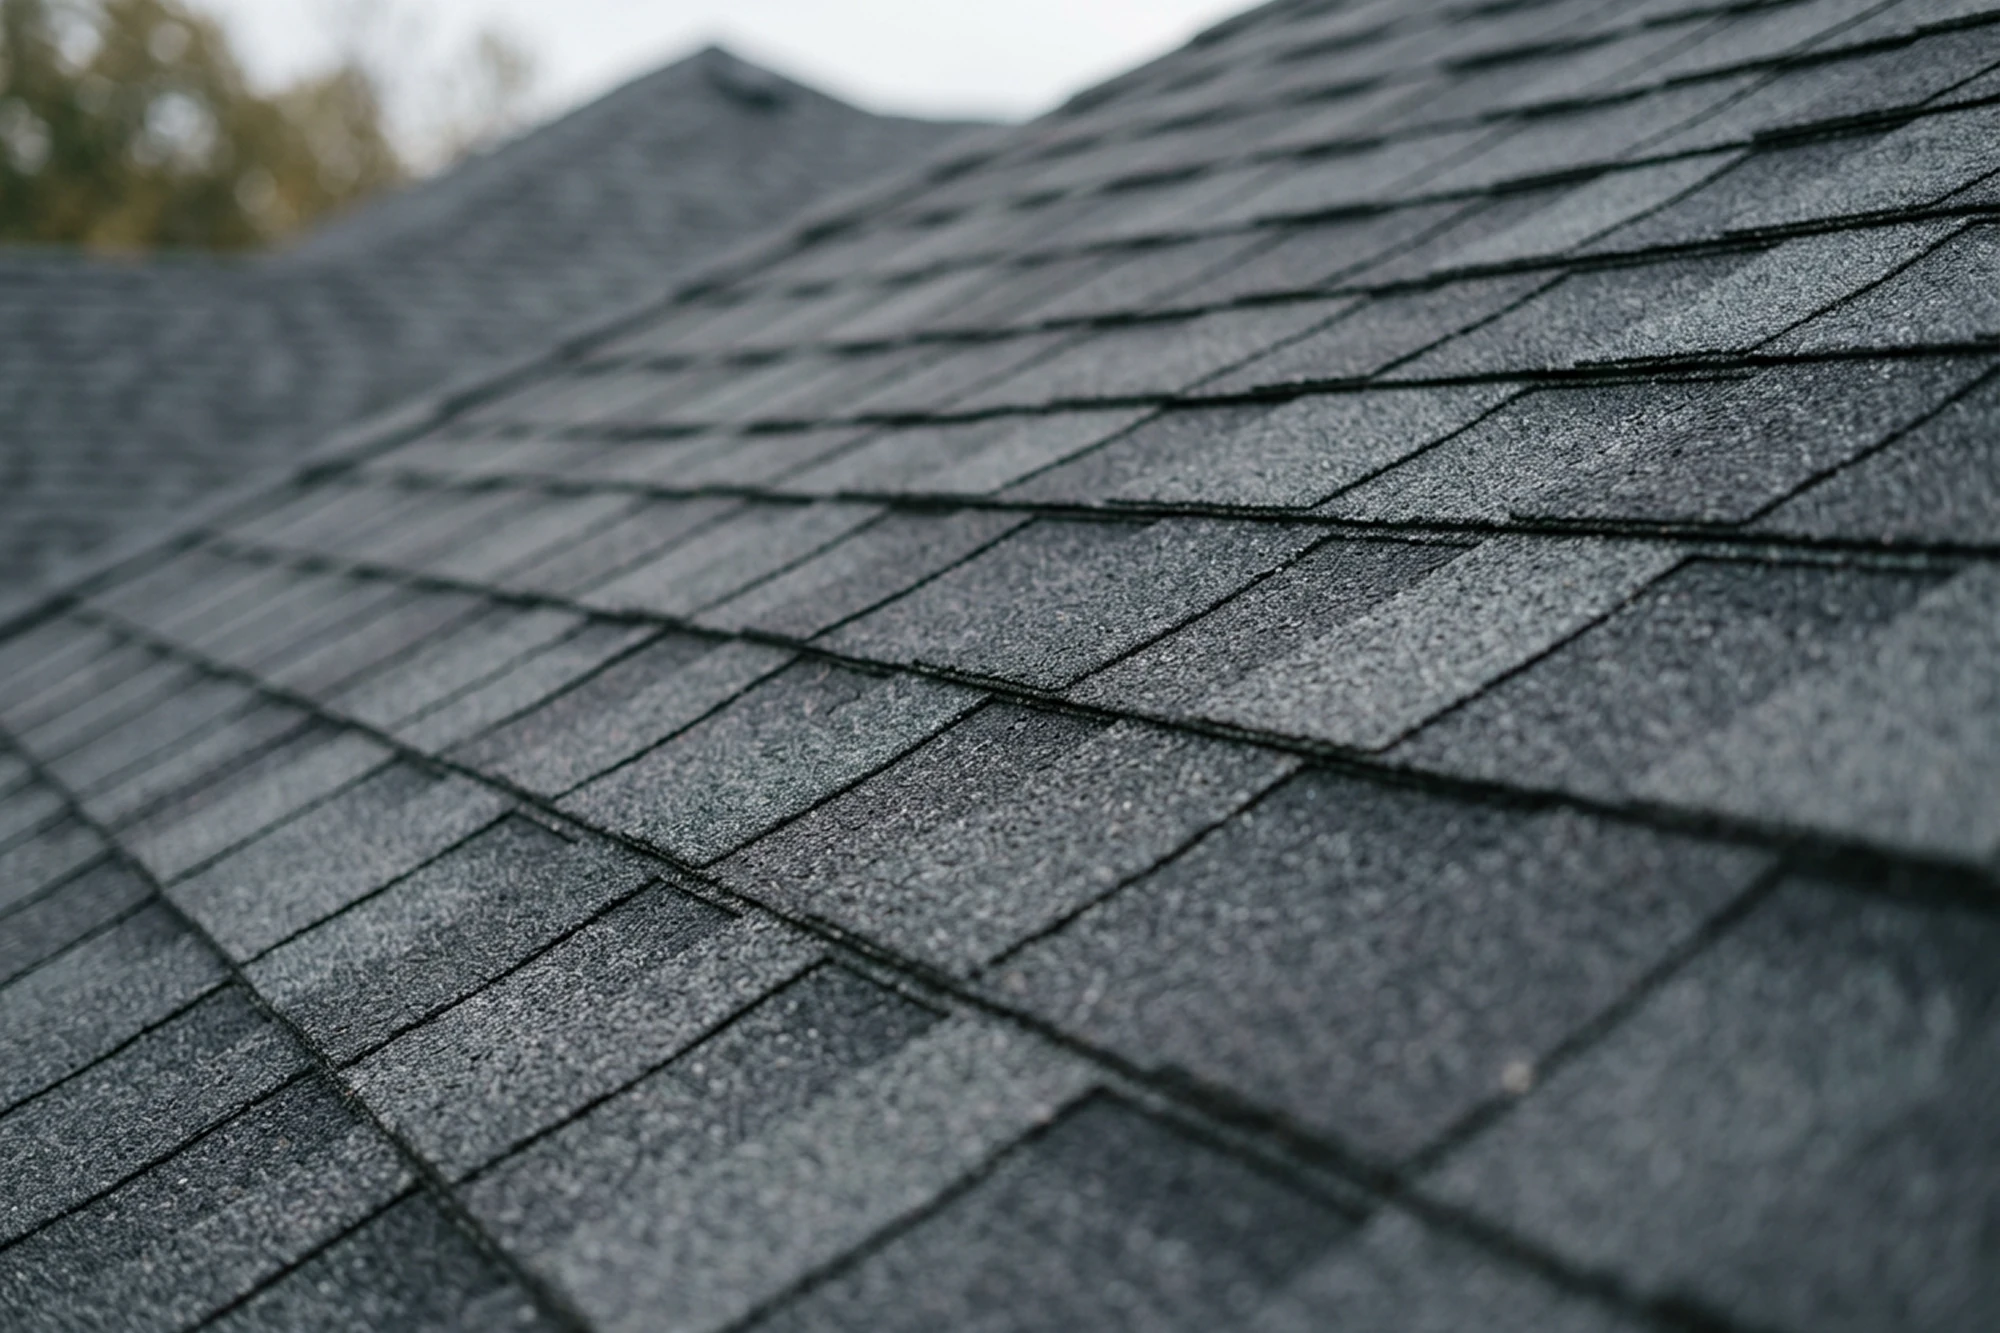
- Missing, cracked or curling shingles
- Loose or missing fasteners on metal panels
- Soft spots or standing water on a flat or low-slope roof
- Granules collecting in gutters, a sign asphalt shingles are wearing thin
None of these guarantee a full repair is urgent, but they’re worth flagging before the roof disappears under a few months of snow cover.
A Note on Flat and Low-Slope Roofs Specifically
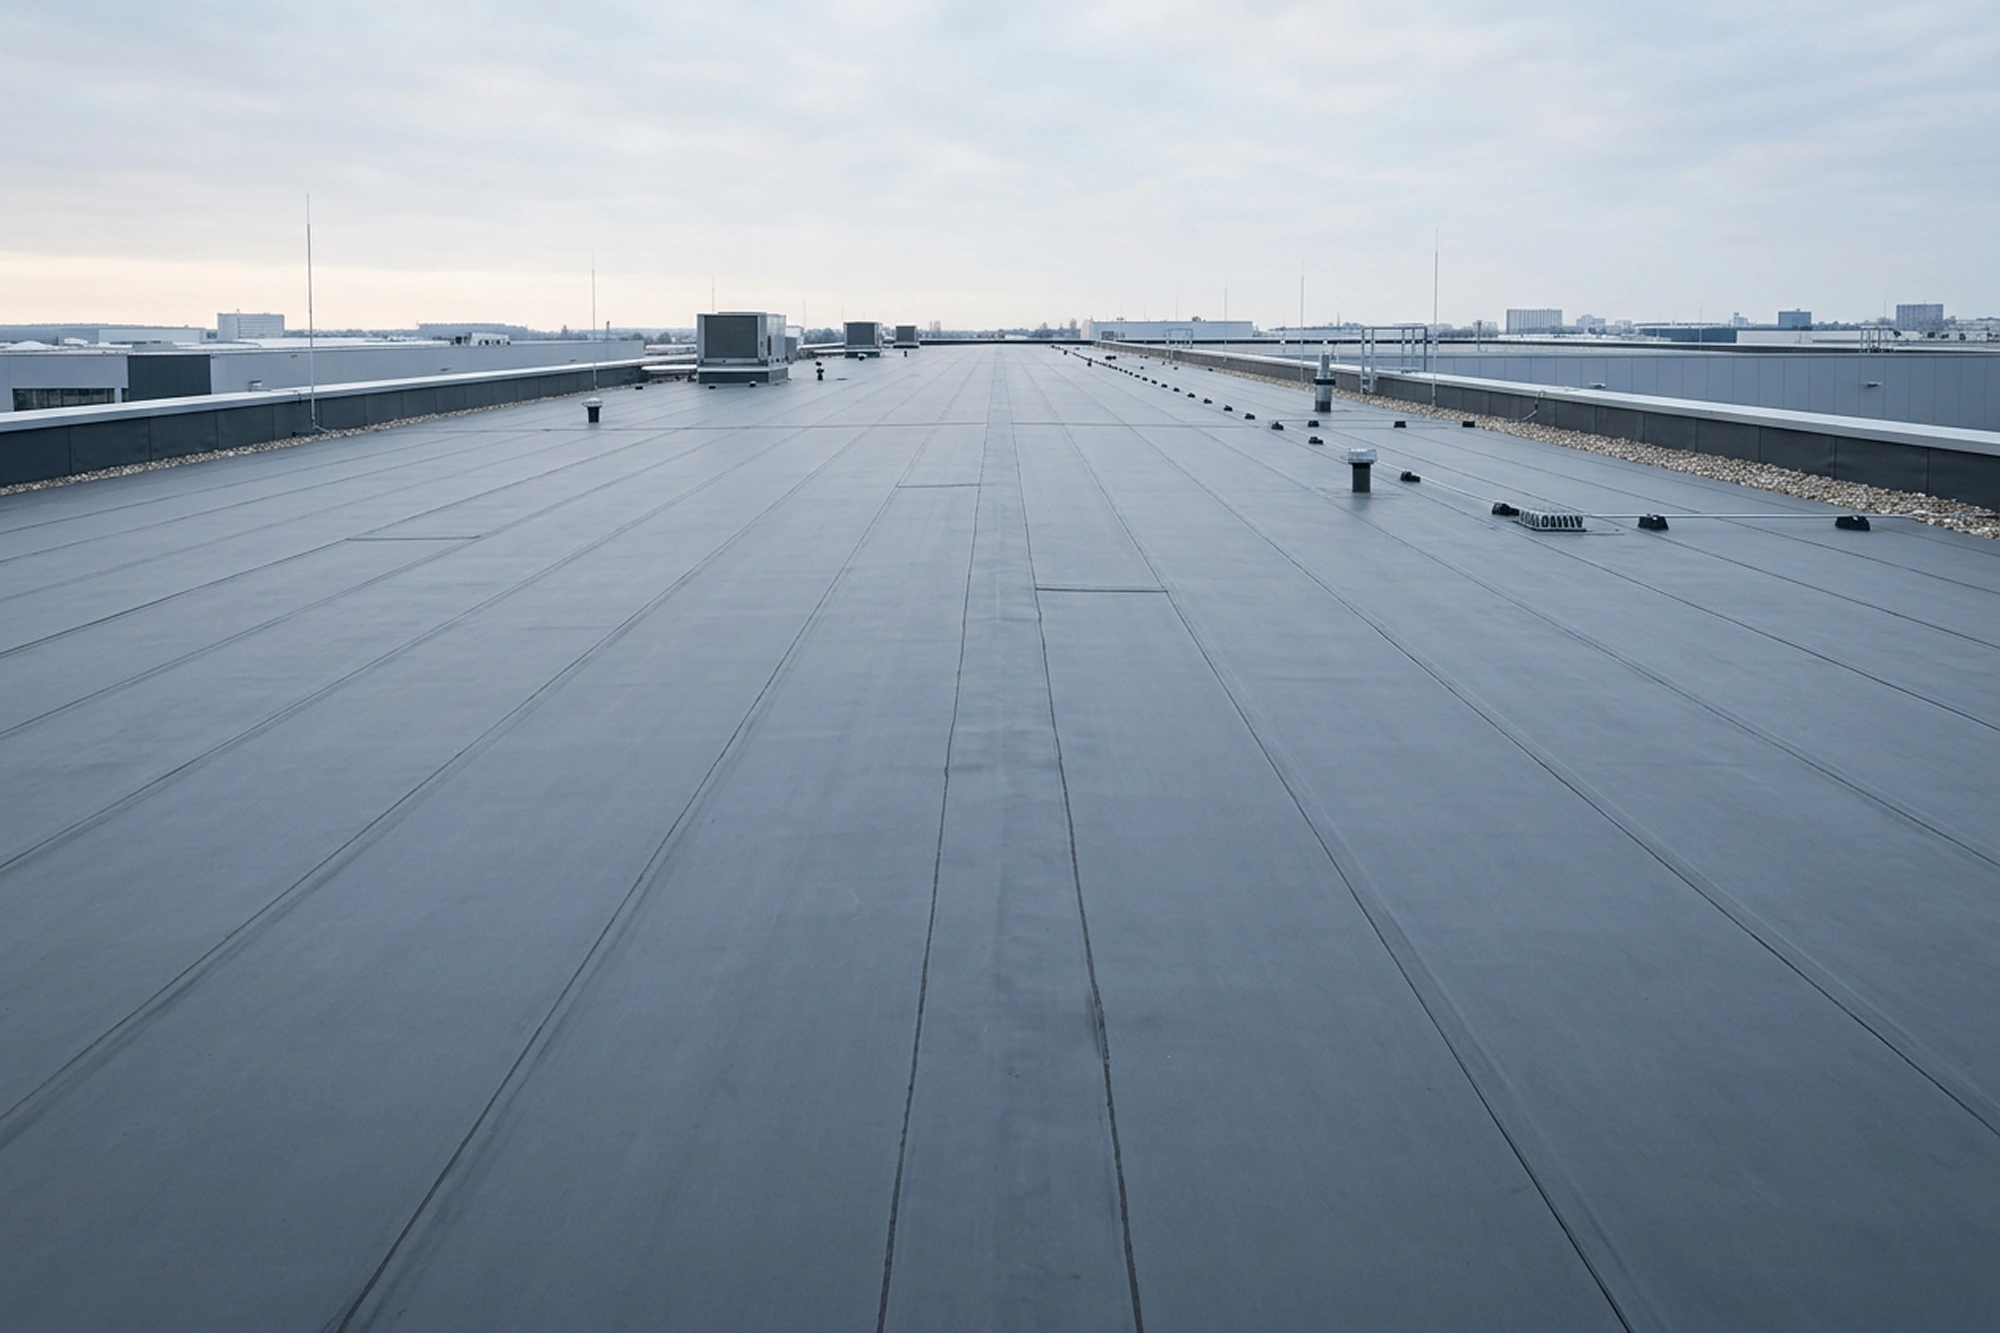
Flat and low-slope roofs carry a slightly different winter risk than pitched roofs: standing water and pooled snowmelt rather than ice damming at the eaves. Before winter, drains and scuppers need to be fully clear, since a blocked drain under a foot of snow is much harder to deal with than one caught in November. We check this specifically on every commercial and flat-roof inspection we run this time of year, and it’s usually a faster fix in the fall than most owners expect, often just clearing debris that’s built up over the summer.
How to Prioritize If You’re Short on Time
If you can only get to part of this list, gutters and attic ventilation cover the two biggest winter failure points, ice damming and heat loss, and they’re the two checks that prevent the most damage per hour spent. Flashing and branch trimming come next. A full visual inspection for existing damage is worth doing whenever you have the time, but it matters most on a roof that’s already a decade or more into its lifespan.
None of these five checks require specialized tools, and most homeowners can get through gutters, a visual attic check and a walk around the property in an afternoon. The flashing and roof-surface inspection are the two items where getting eyes on the actual roof surface, rather than judging from the ground, makes the biggest difference.
When to Call In a Professional
Some of this checklist is a homeowner job. Some of it isn’t. If you’re not comfortable on a ladder in the fall, you shouldn’t be on one in the winter either. And if you spot signs of an existing problem, active leaking, sagging deck sections, or ice already forming at the eaves before winter has properly started, that’s a sign to get it looked at rather than waiting.
A professional inspection isn’t only about spotting damage you can’t see from the ground. It’s also about catching the small combination of issues, a slightly blocked downspout paired with a thin patch of attic insulation, for example, that don’t look serious individually but add up to an ice dam once winter sets in. We look at the roof as one connected system for exactly that reason.
Get Your Roof Checked Before the Snow Flies
Jerry’s Roofing and Renovation has served homeowners and businesses across Toronto and the GTA for over two decades as a family-owned, full-service roofing contractor, and fall inspections are some of the most valuable work we do all year. A roof that’s ready in November has a much easier winter than one that isn’t.
Reach out to Jerry’s Roofing and Renovation to get your roof checked before the first snowfall.